|
Page 1 of 4
Next Page>>
Pictures and comments by Graham
While I was waiting for glue to dry on the Mosquito, and bits to turn up for my Black Widow, I thought I would have a rummage under the bench, guess what I found..... Another kit.... This has to be one of my favourite aeroplanes so I'm a sucker for a kit of one. I have to say that on opening the box it has to be one of the most sparsely populated kits, part wise, that I have ever come across, everything is there..... there just isn't a lot of it"
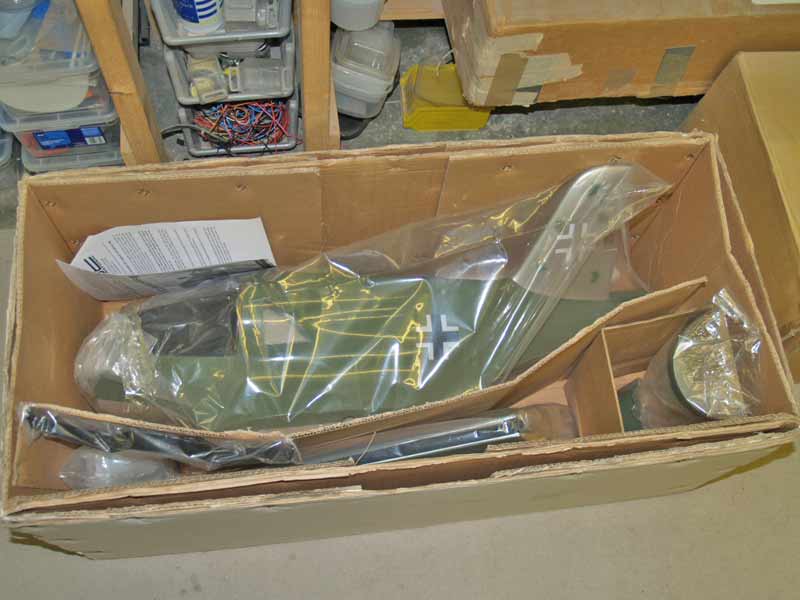
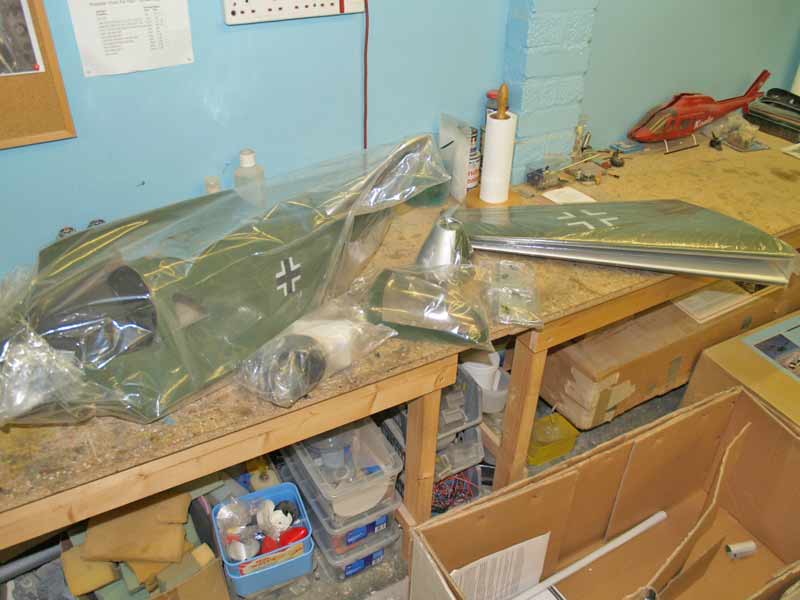
Laid out on the bench there looks even less, apart from a wing tube this is all there is...
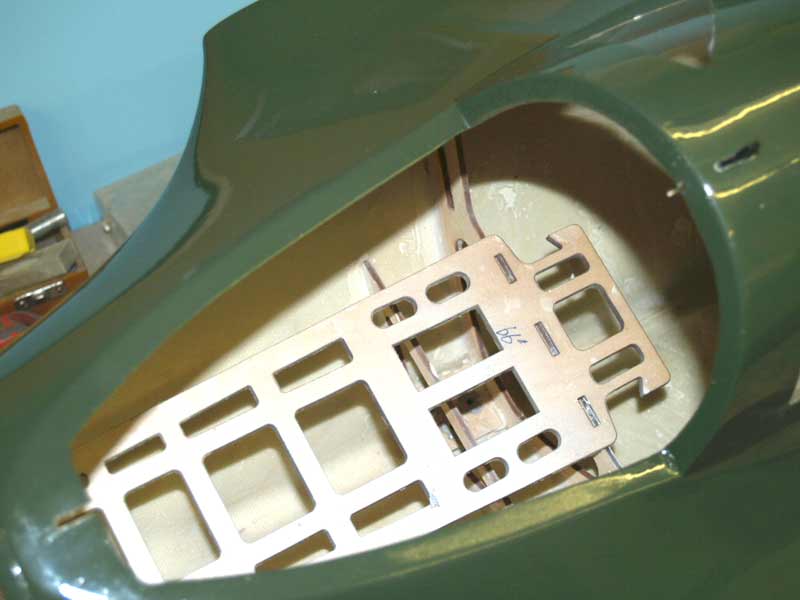
The fuselage is spacious to say the least
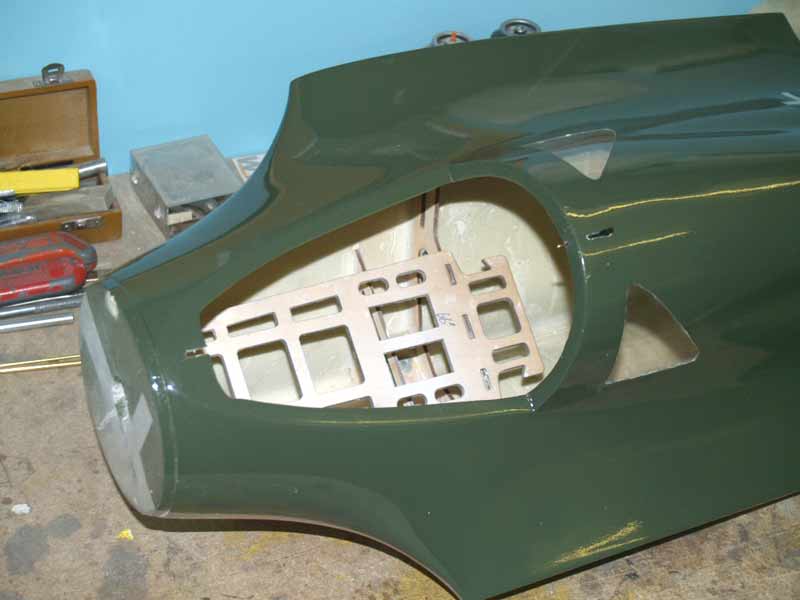 # #
Now where am I going to put the radio gear?
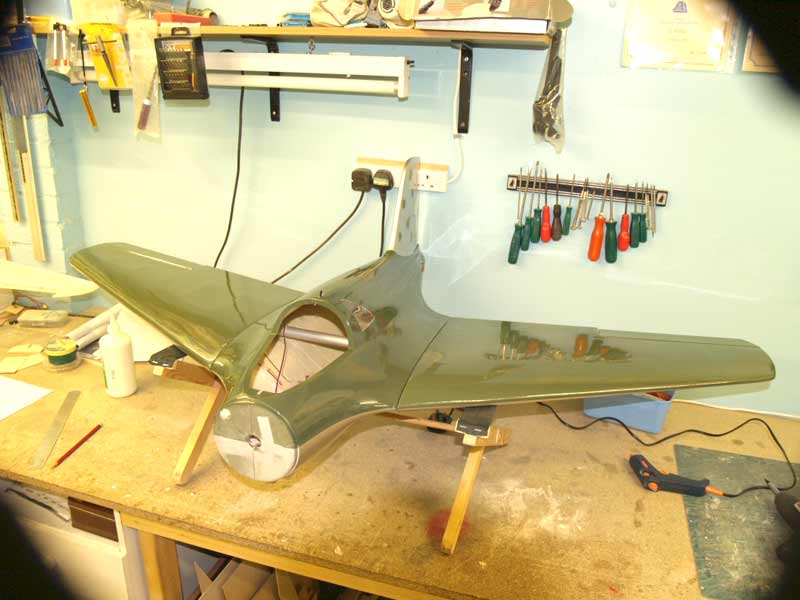
Another couple of photos of my new model......
The second shot shows it with no decals as in order to paint it they had to be removed
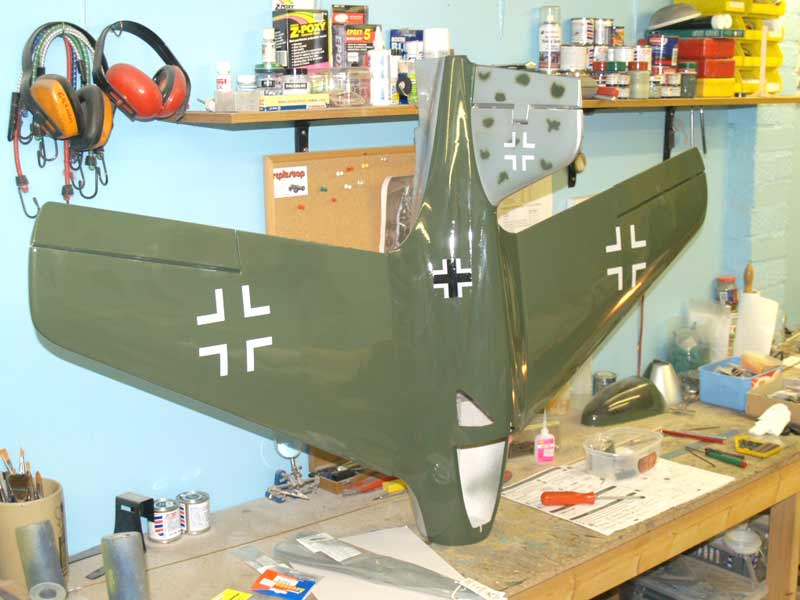
The kit was supplied by YT International and features a full glassfibre fuselage, built up wings and rudder.
Wingspan is 60.5” and will be powered by an OS 55AX.
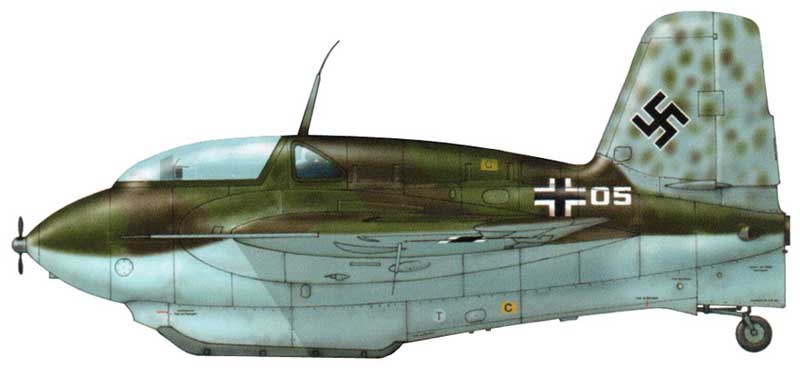
I’m working on a way to release the undercarriage dolly as the model sports a fixed set of landing gear. I shall be repainting the model in an authentic colour scheme too
More photos to follow as the "build" progresses; should be fairly quick as there is bugger all to build....
I do want to mimic the full size undercarriage though, so some more head scratching for me, I'll never learn will I???
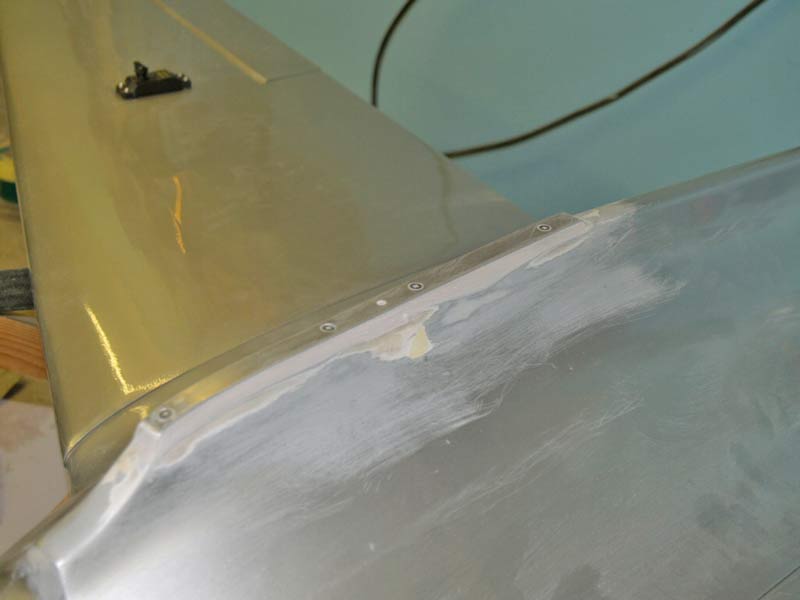
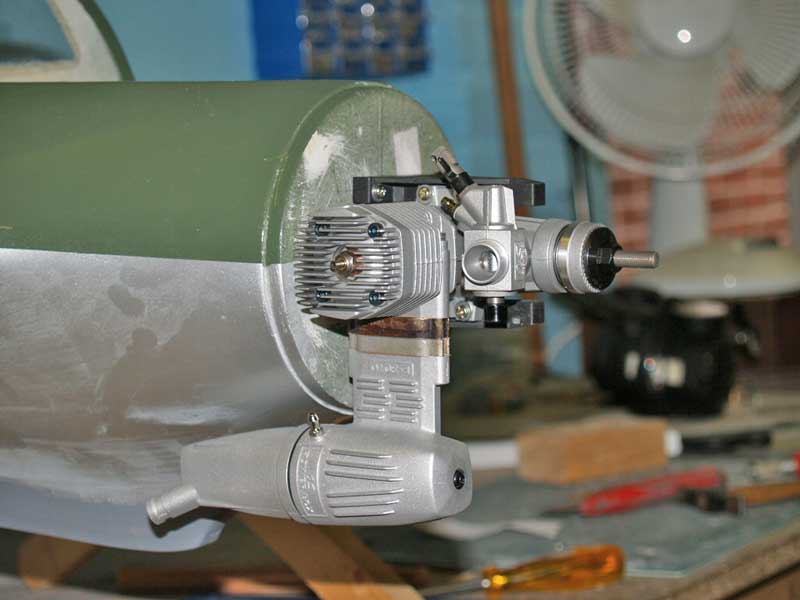
A couple more shots of my Komet as I assemble it. I decided to add an alloy skid to the bottom of the fuselage as landing without wheels might tear up the glassfibre, a strip of 1/8th alloy was cut and screwed to the bottom of the fuz with countersunk screws and faired in with filler, wood blocks were added inside to give the screws purchase
This shot shows the engine installation, a spanking new OS .55AX was chosen due to it's high power to weight ratio. Unfortunately I had to extend the exhaust to clear the fuz but luckily I had some extensions to hand that were just right and these were fitted with brown paper gaskets between all flanges, bolts were the main concern as the supplied ones for the exhaust were now too short, a quick trip into town to Westgate Fastenings (recommended for all kinds of screws,bolts,nuts etc) provided some nice shiny stainless socket heads to complete the job. Soon be able to paint it once the cowl is cut and fitted.
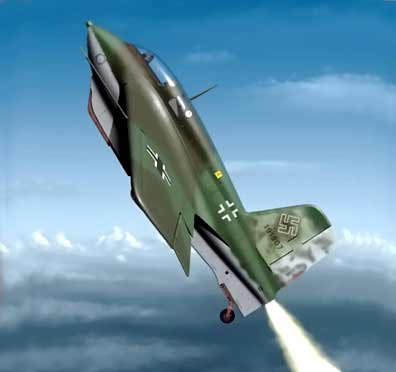
Proposed colour scheme....
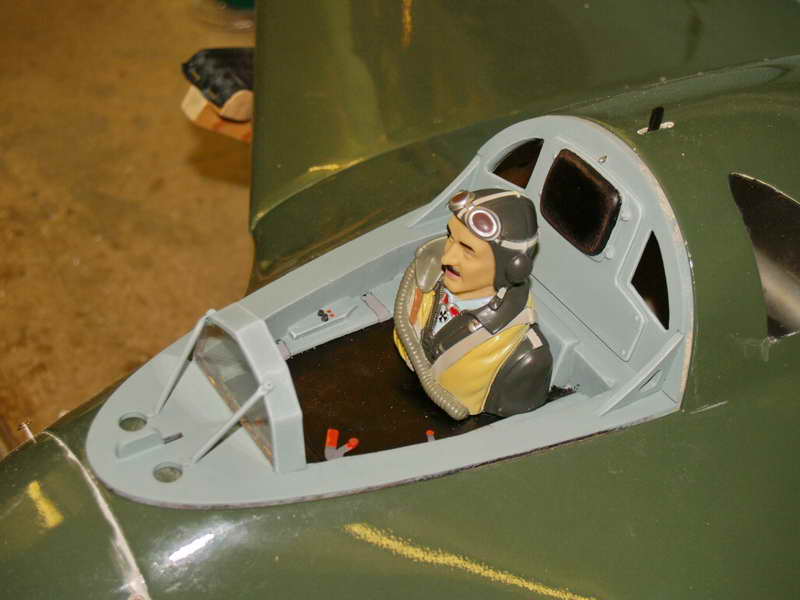
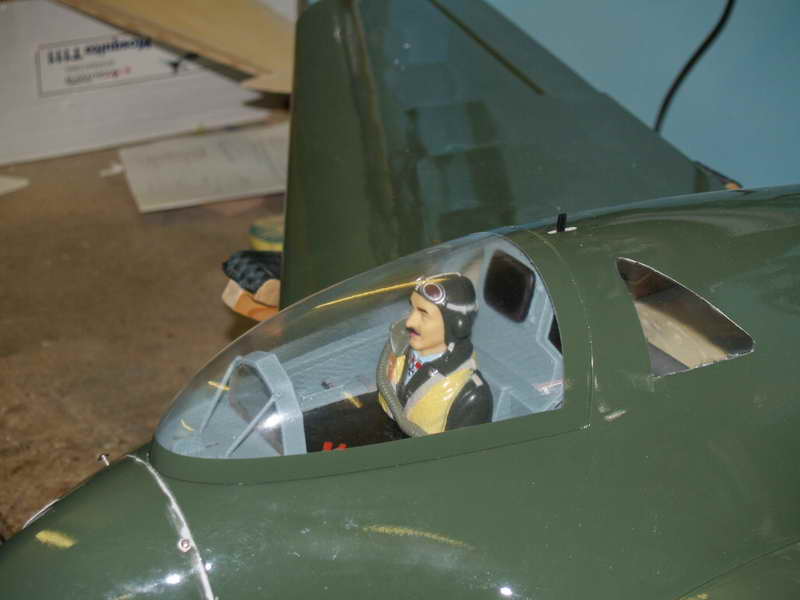
More photos of the Komet build, mostly of the cockpit. The kit had a "rubbish" cockpit, if you could call it that, it was just a profilm covered frame that doubled as a hatch once the canopy was glued to it, it wasn't even solid enough to fix a pilot to. I got to work and cut the frame out of the middle and built a recessed "tub" for the pilot to sit in, detailed it and painted it, the canopy has still to be glued onto it.
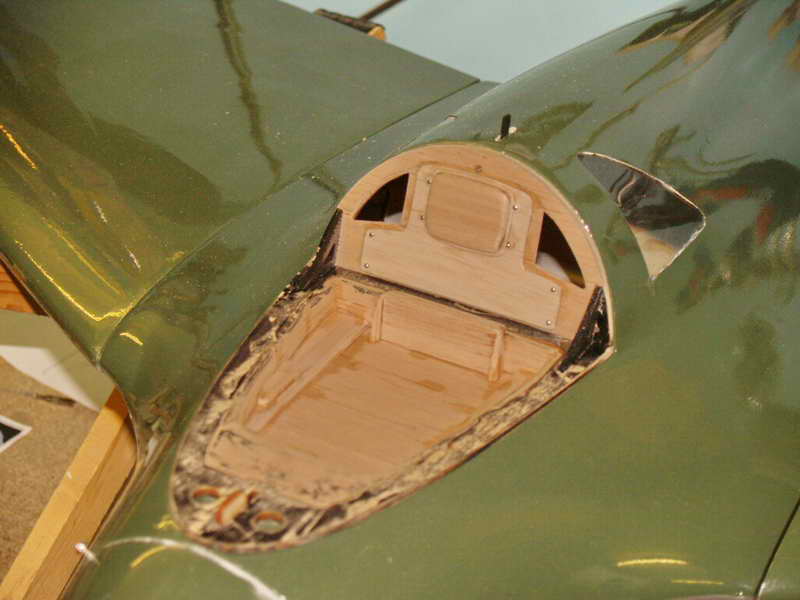
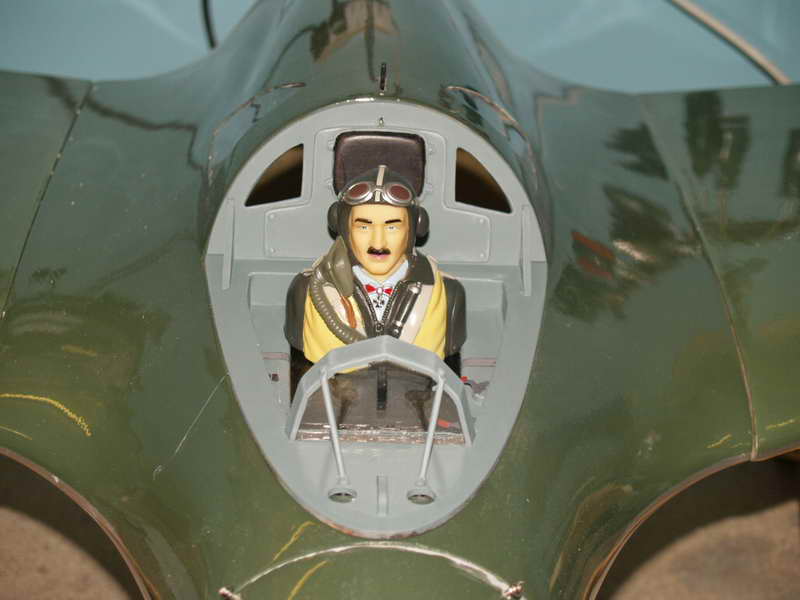
The one problem I had was the bullet proof screen that sits in front of the pilot, it couldn't be left out and it needed to be made from thick perspex to look right, scale size had it at 13.3mm but it looked too thick so I opted for 10mm. A wood plug was made to allow me to make the metal frame for the screen, this was made from lithoplate
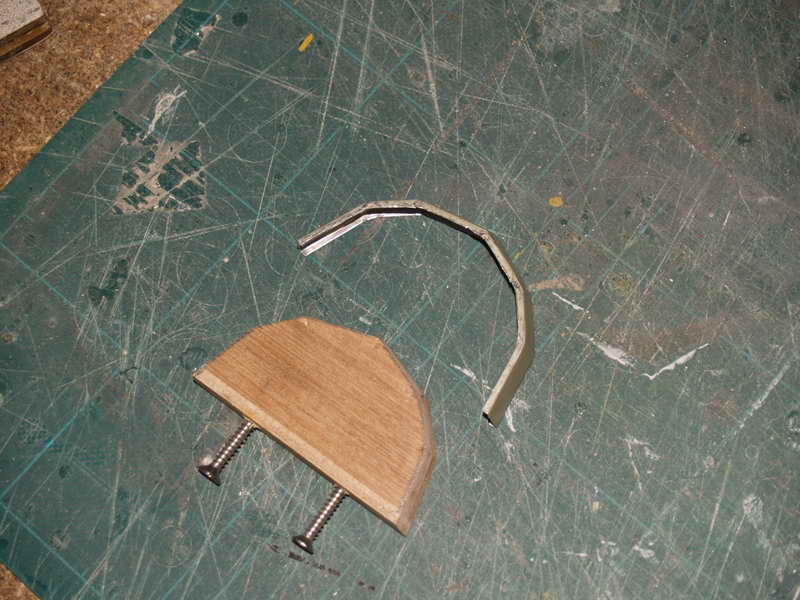
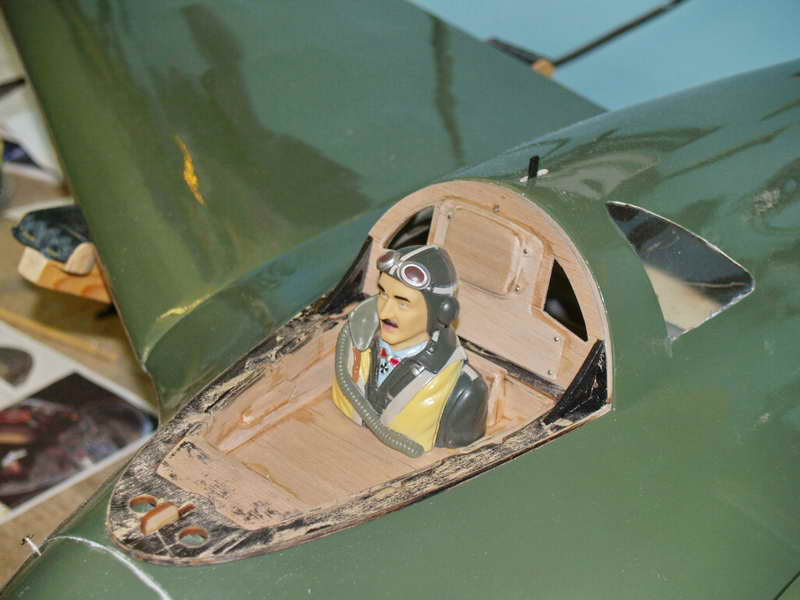
The following photos show the "tub" finished
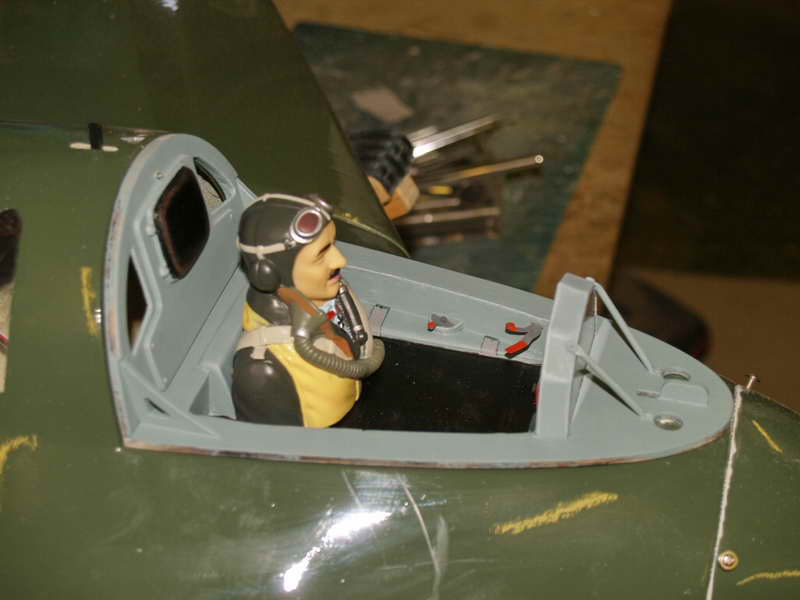
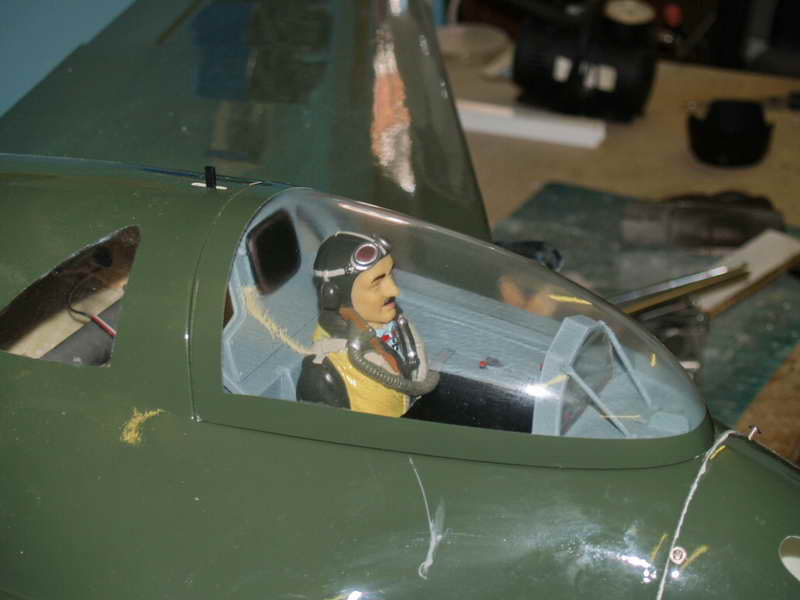
The releasable undercarriage constructed and tested, it drops away nice and easy, I was going to use a servo to release it but decided to try a free dropping method first as it should release at a lower altitude and speed reducing the risk of damage to it. The canopy is now fixed and trimmed, all that is left to do now is paint the model in authentic colours
Undercarriage assembly
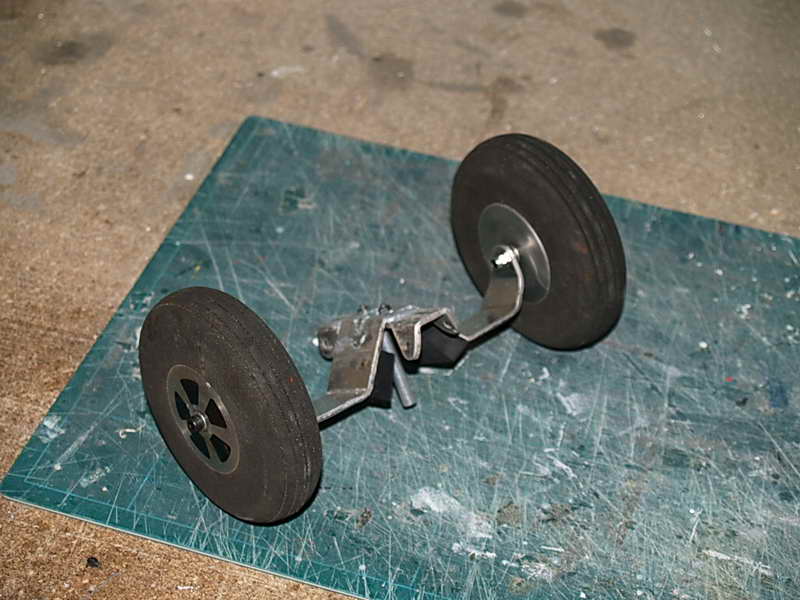
Undercarriage in place

Canopy finished
Page 1 of 4
Next Page>>
|
 Home
Home Club Info
  Photo Gallery
 RC Flying
 For Sale