By Ben Trowbridge


(1) Remove engine from model, in this case an OS 91 FX
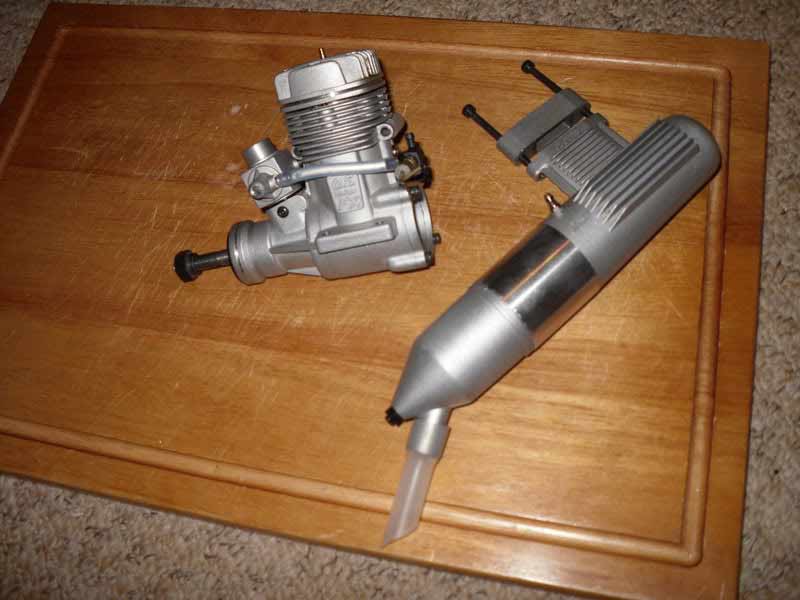
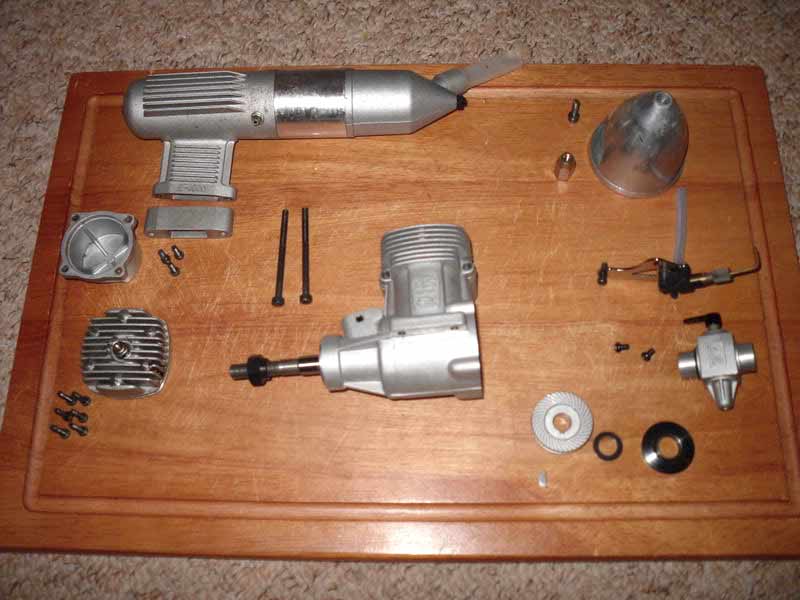
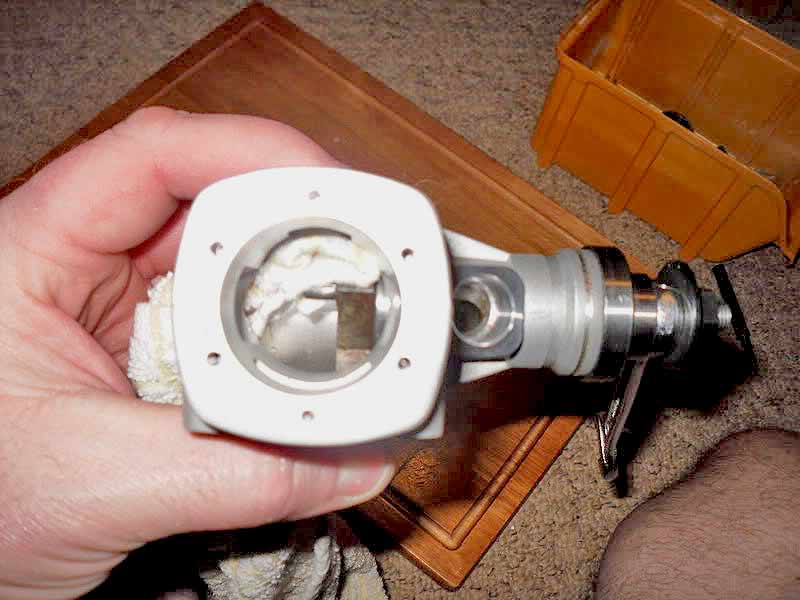
2) Strip main parts off engine
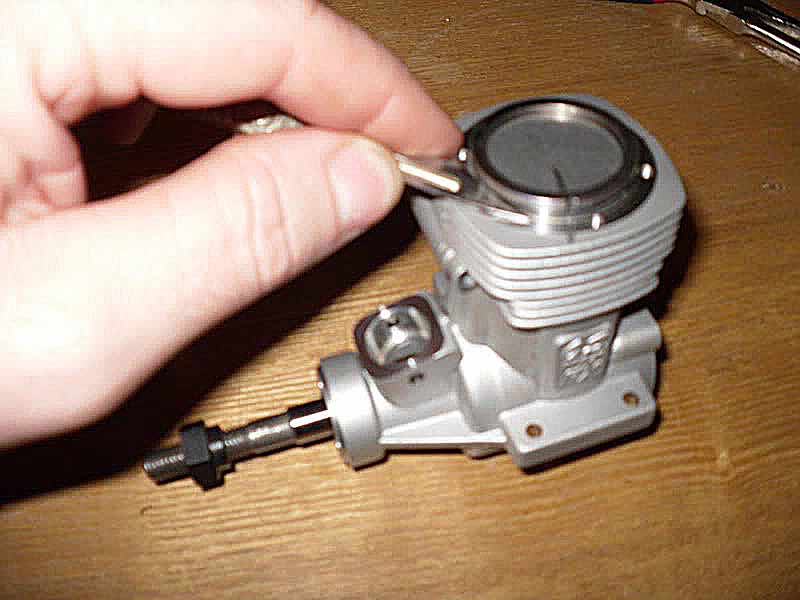
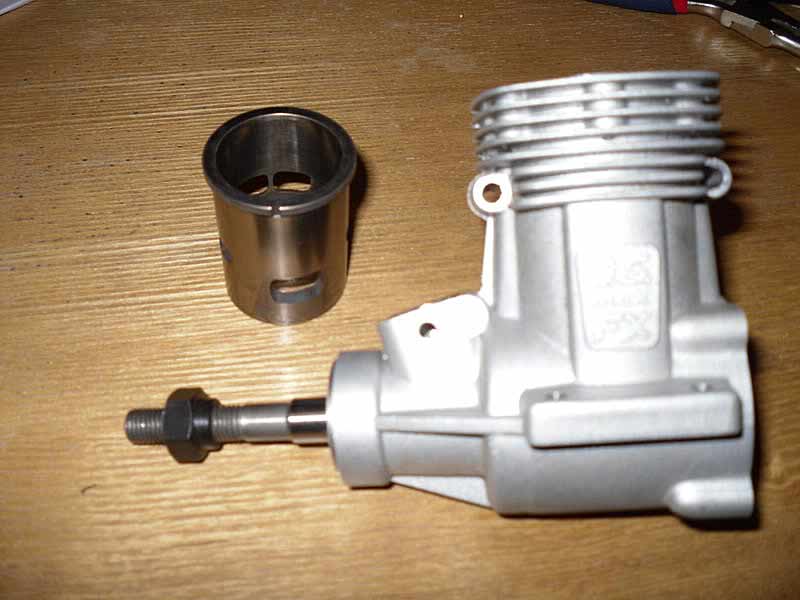
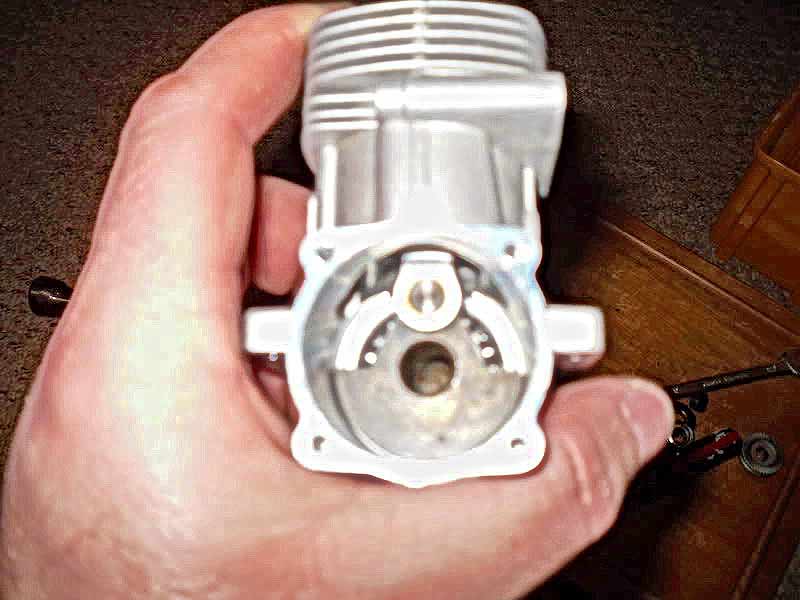
(3) Carefully insert a very thin flat screwdriver or a scalpel under the lip of the piston liner and lift. This can then be pulled out. If this will not easily come out or is stuck, jump to number (5) and then try again.
Also notice that i've put a pencil mark across the piston, liner and crankcase. This insures everything goes back the same way.
4) Move the crankshaft to TDC (top dead centre) this will give you enough room to slip the conrod off the crankshaft
(5) Now it's time for the heat. Best to do this when the wife is out............ Crank your oven up to the high setting, 220'c ish and place engine inside. You will need to leave it in there for about 5-6 mins. Mmmmmmmmm.. it smells delicious
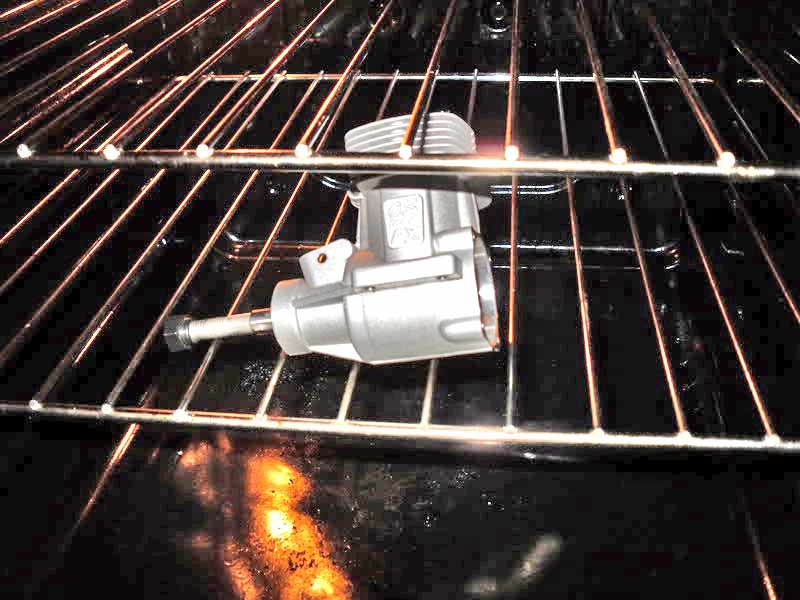
Using an oven should not damage any of the coloured finishes some engines have, ie OS LA's and Irvines
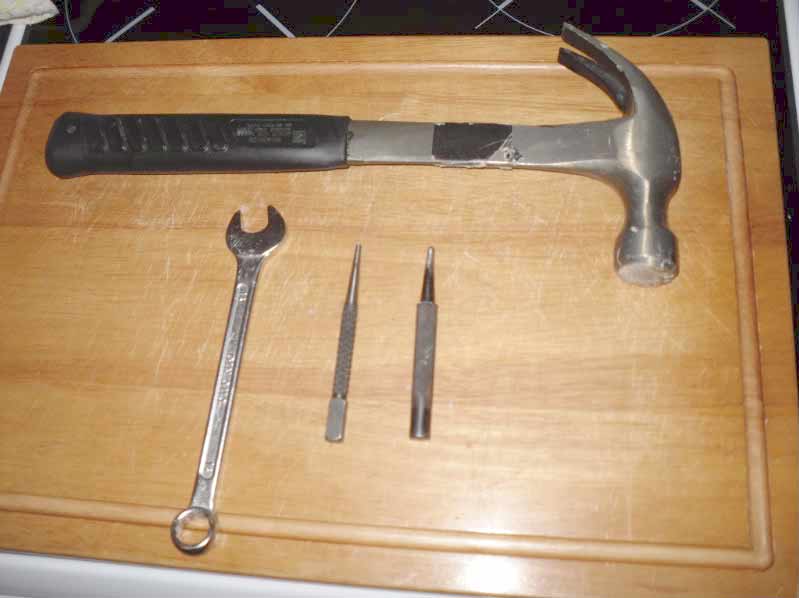
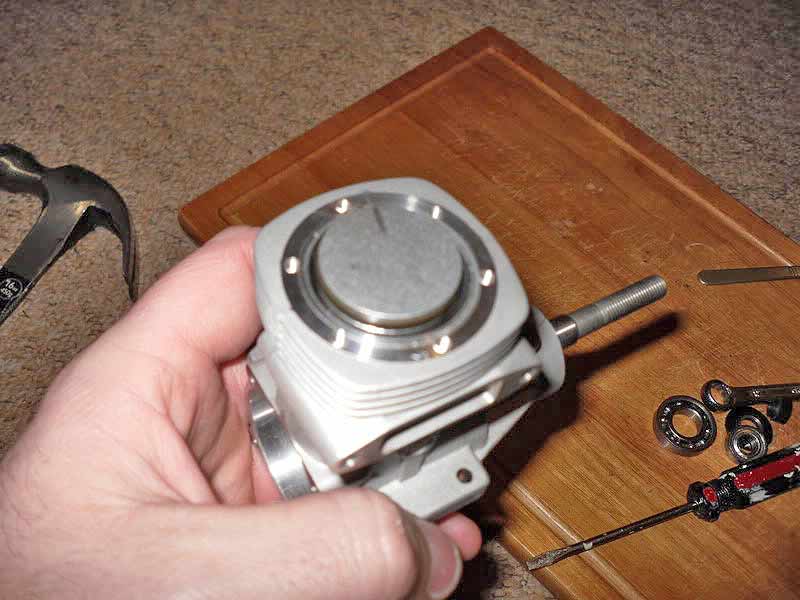
These are the tools you will require for the next stage.
A hammer, a punch or 2 and a spanner for the prop nut
(6) Remove from oven with a rag or cloth, it will be VERY VERY HOT so be carefull!!!
Place on a flat surface and tap the end of the crankshaft once or twice with a hammer. When i say tap, i do mean tap!!! If a tap will not remove it, put it back in the
oven for another min or so till it does
(7) The trick with removing bearings is to get the engine hot enough, the Ali crankcase will expand, more than the bearings do. Thus making them easer to remove.
First, put the handle (wide part) of a punch, in from the back of the engine, through the main bearing till it touches the front bearing. As i said before, if it's hot enough a very light tap will pop it out.
In fact, the front bearing just pushed out
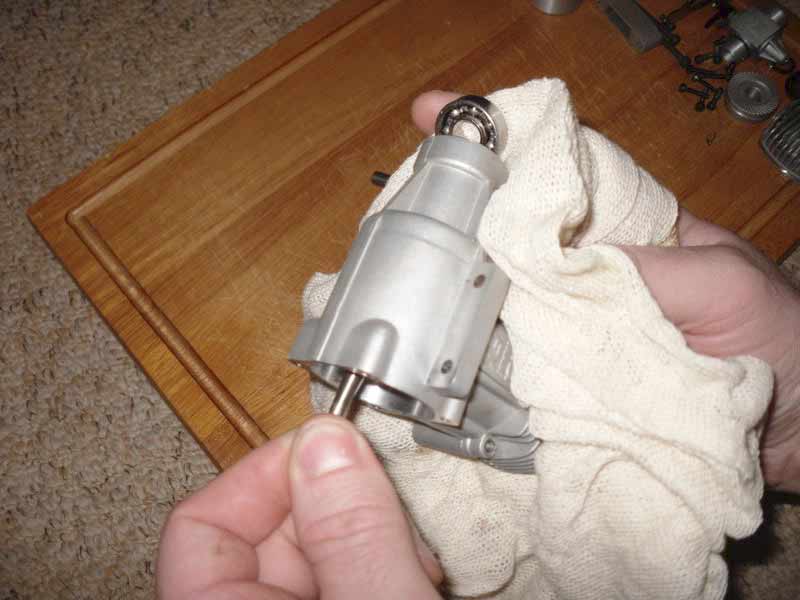
Obviously the bearings will be very hot too!!
(8) Now turn the engine over and insert the thin end of the punch through the front. Again if need be, or if you have had a cup of tea between the steps heat it up again first. When you insert the punch, you should be able to feel the inside edge of the main bearing. One of my punches is bent on the tip which helps. It's hard to explain but when you look through, when the front bearing is removed, you will see what i mean. This is where you need to tap
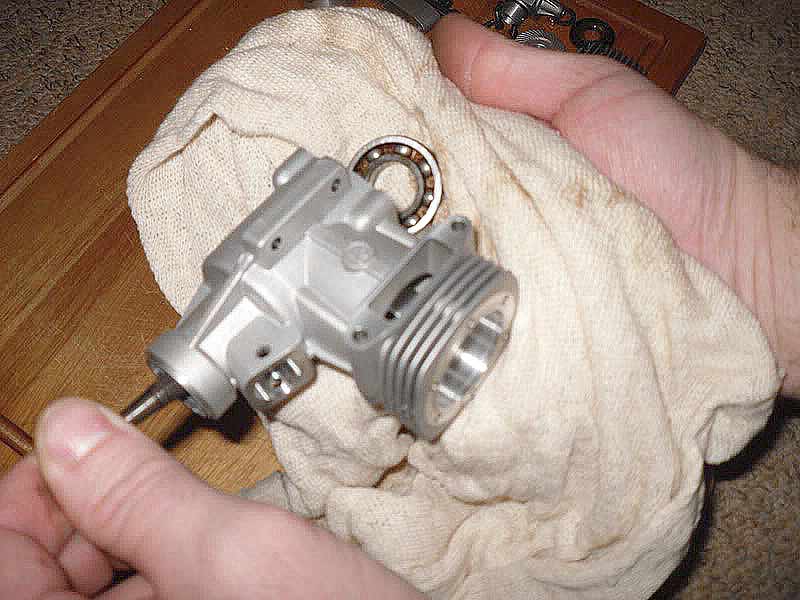
Don't throw the old bearings away yet as you will need these later....
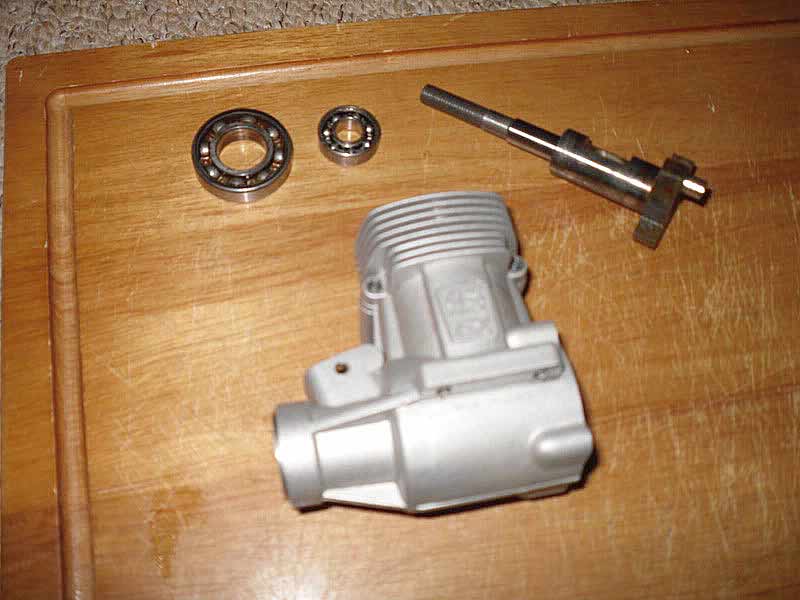
Refitting.........
(1) Push the new front small bearing slightly into it's new home. Roughly place the main bearing into it's new home, keeping them as straight as possible. Now push the crankshaft through the main bearing and through the front bearing so there is a few threds exposed at the front. Put the prop washer on and the prop nut and tighten.

(2) It now needs to be heated up again. Once hot enough, tighten the prop nut with the spanner untill you run out of thread. You will now need some spacers....... the old bearings are ideal for this Undo the prop nut, slide the bearings on the shaft and replace the washer and prop nut and tighten again. Once the crankshaft is fully drawn through the main bearing, it will then start pulling the bearing home.
Once the bearing starts to move, the crankshaft will want to turn, so ram your rag or cloth in where the con rod goes to lock it. You will probally need another spacer when you get near the end. I used another spanner but you could use washers or similar.
3) Put the piston and conrod back in.
(4) Then the liner.

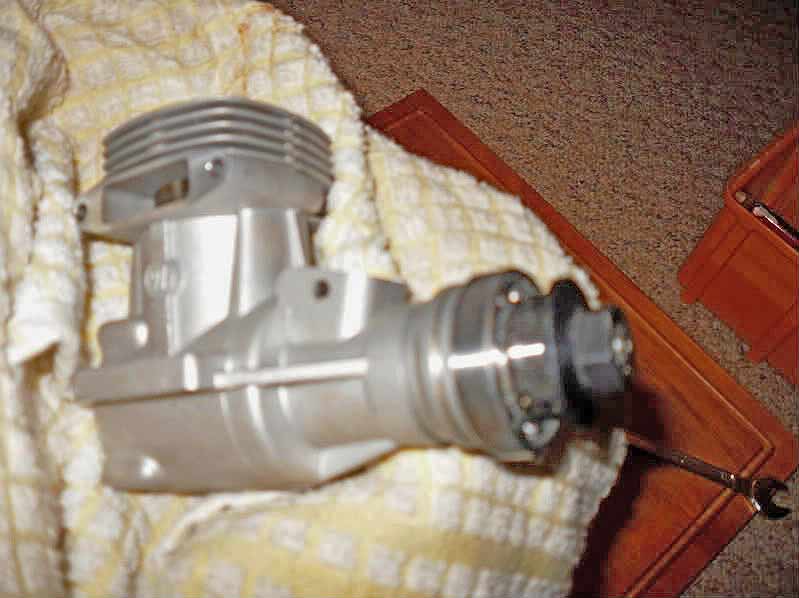
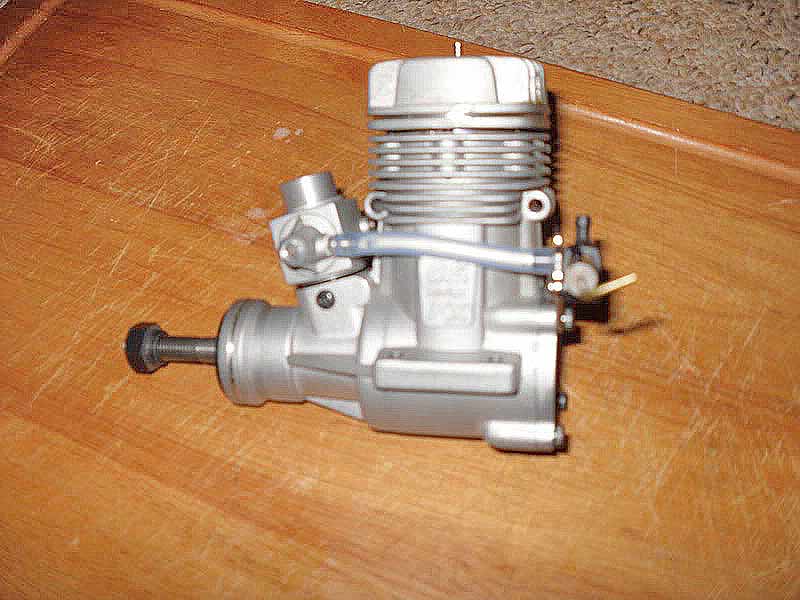
(5) Replace all the other parts, make sure all the gaskets and seals are in place. It's also a good time before replacing the carb to give it a good flush out.
Mission complete
Bearings were bought from Bearings Direct in Norwich 01603 511832 at a cost of £9.80 for the pair!! compare that to OS prices
Hope this helps you all, tried to make it as straight forward as possible, it's very straight forward when you get the hang of it. The whole process above took about 30mins to do, and 10 mins of that was waiting for it to heat up
|

 Home
Home Club Info
  Photo Gallery
 RC Flying
 For Sale
 Links
Links