Page 1
Next Page>>
Words and pictures, by John
I was starting to suffer balsa bashing withdrawal symptoms and so, to keep them at bay it looked like another build was needed. What to build? I like the look of
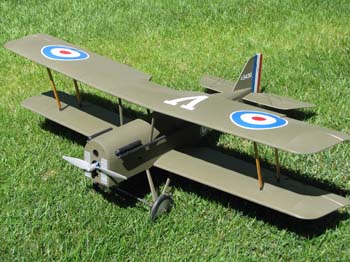
WW1 fighters bimbling round the sky but I had already built two monoplanes, a Magnattilla and a Wing Warper. I liked Chas's SE5A. I didn't want to scratch build so a not too large a kit was needed. A 50 inch Flair SE5A it had to be.
The box was smaller than I imagined, but how much room do a few sheets of ply and some balsa sticks need? Included was all the hardware, tank and fittings and u/c wires.The parts are not laser cut but die-cut, although the fit seemed OK.
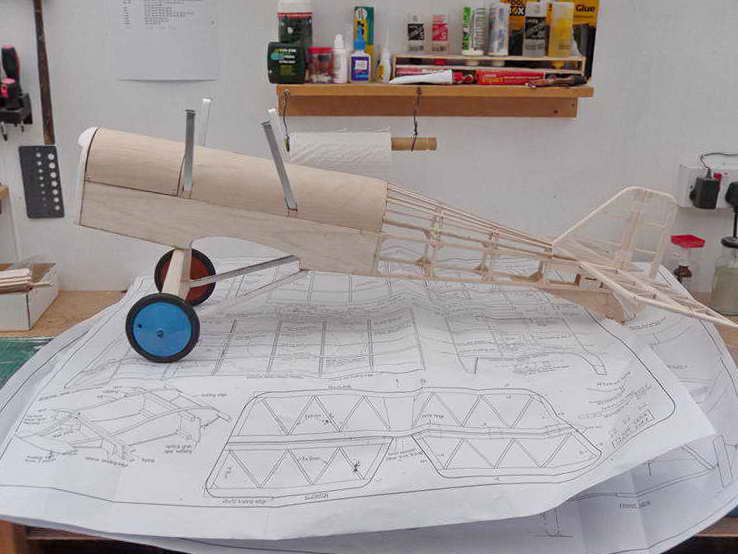
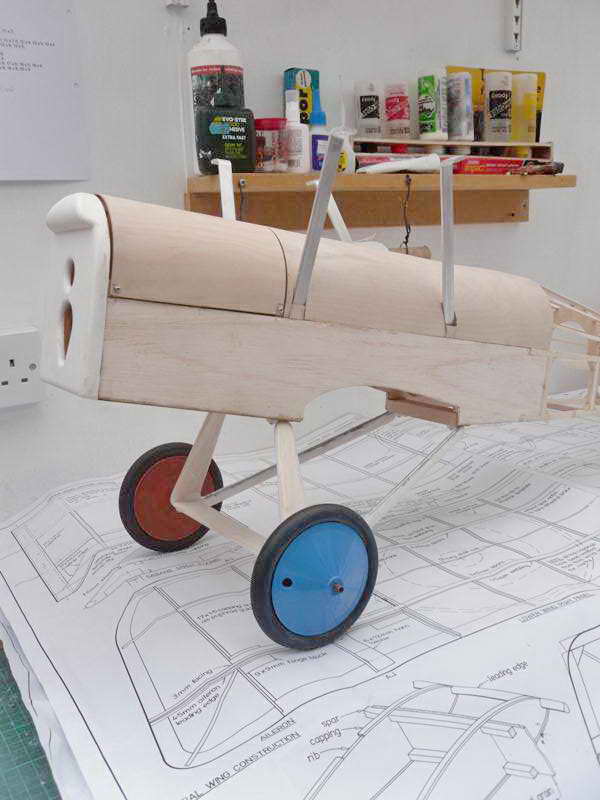
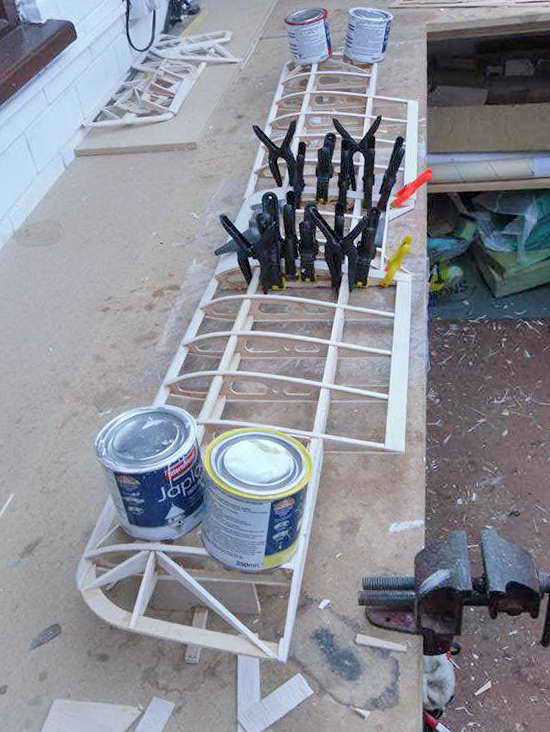
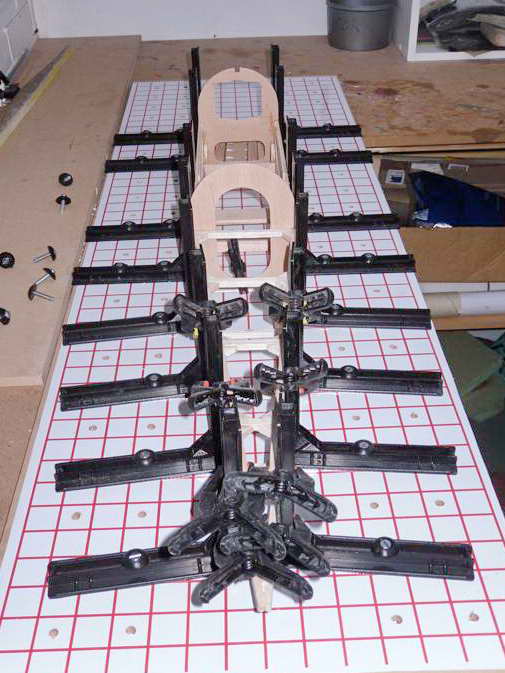
I built the fuse first using a SLEC building board to keep everything nice and straight .These are a simple idea but make fuselage building much more accurate.The rear stringers are 3mm balsa which is quite weak,I must have broken them 4 times when handling the fuse. so I filled them in with 3mm planks .I also strengthened the corner joints on the rear frames and added 3mm ply braces around the two u/c blocks.
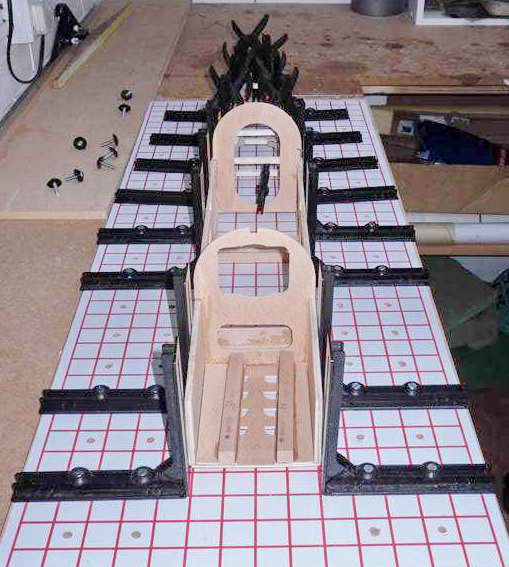
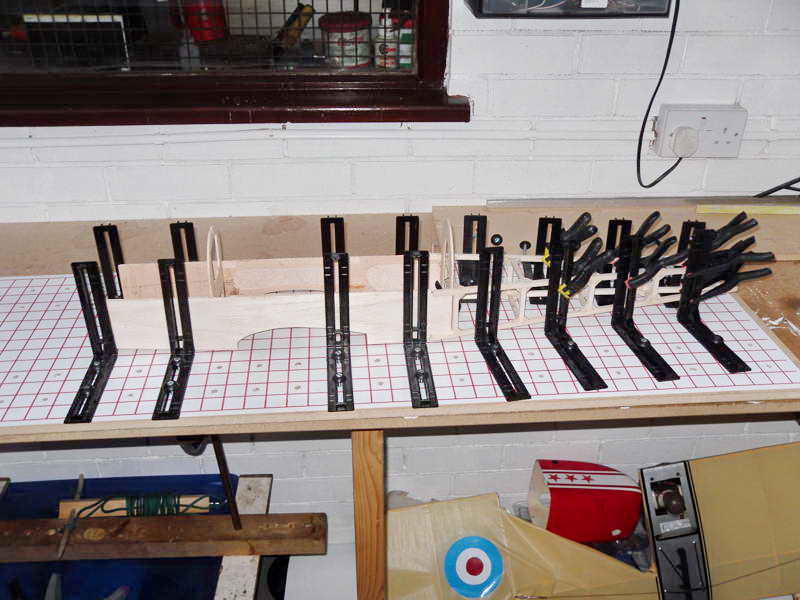
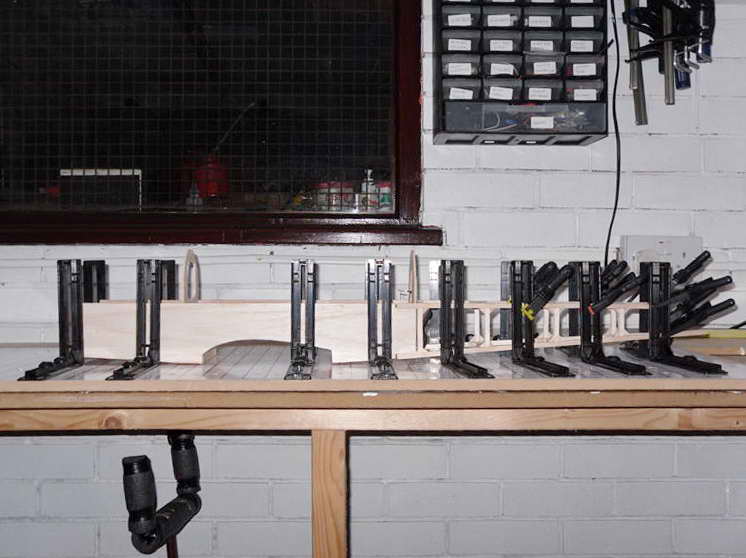
The 1.5mm ply sheeting was a bit of a fiddle to fit around the ally cabane struts on the top of the fuse, the instructions were not very clear but it will look alright when the covering goes on!
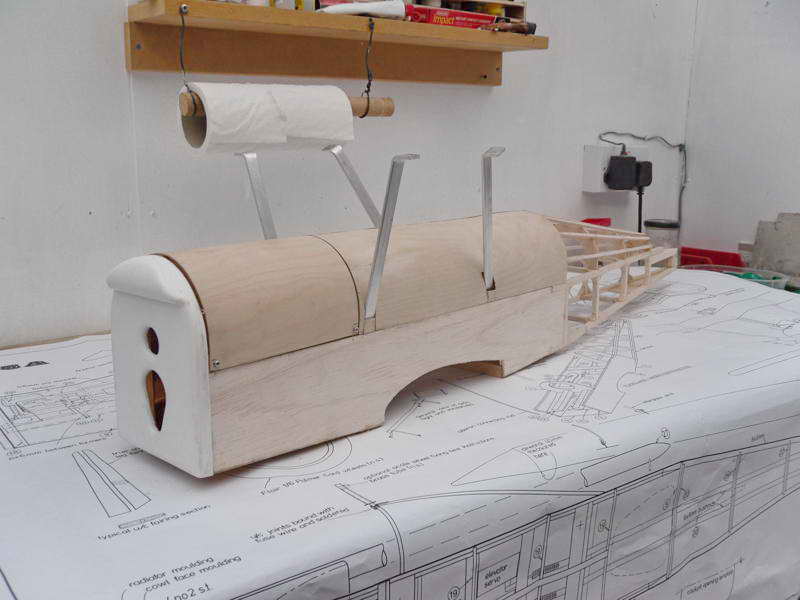
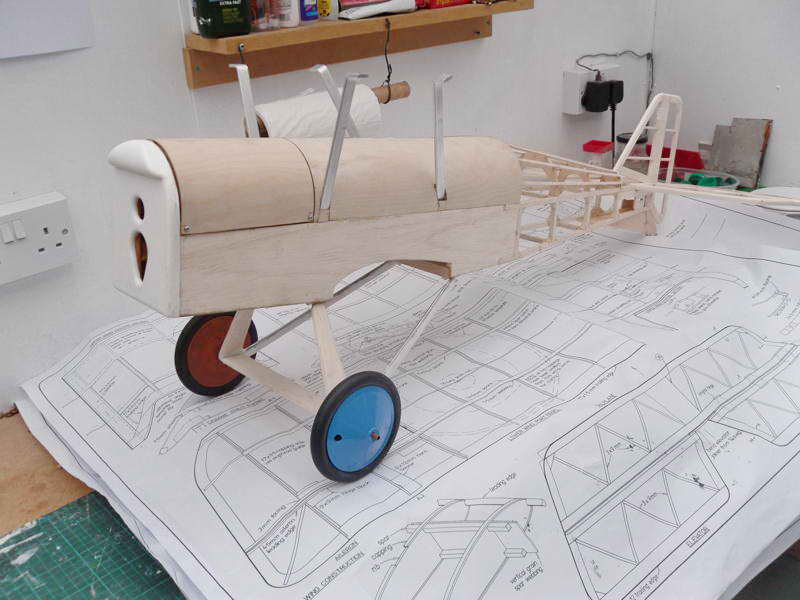
The u/c is made up of 5 wire pieces and held together with bound copper wire obtained by stripping some cable and then soldered up. The fairings are 1.5 and 3mm balsa sheet, made good with filler in the corners, again should not show when finished.
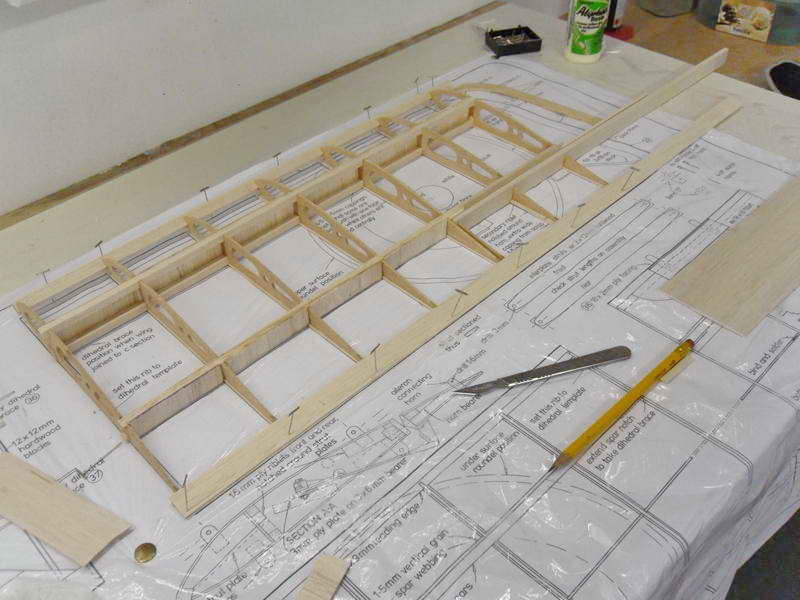
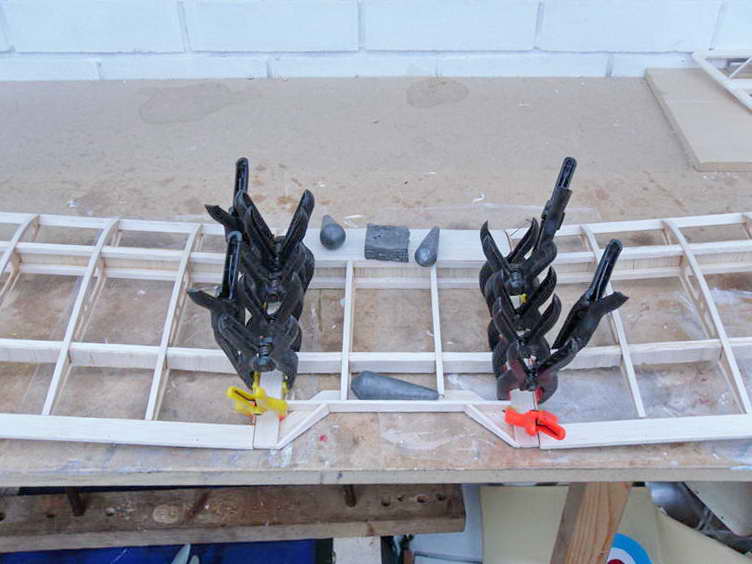
Flair must have designed the SE5A many years ago, over 20 I think, when servos were expensive items. There is just one in the centre section driving the ailerons via pushrods and bellcranks, probably possessing lots of slop. I shall be fitting a servo in each wing with nice short rods and make some paper tubes to feed the leads down. You will see that I have strengthened the wing tips with diagonals. I know they say that "light is right" but I need my planes to be a little forgiving.
 Home
Home Club Info
  Photo Gallery
 RC Flying
 For Sale